

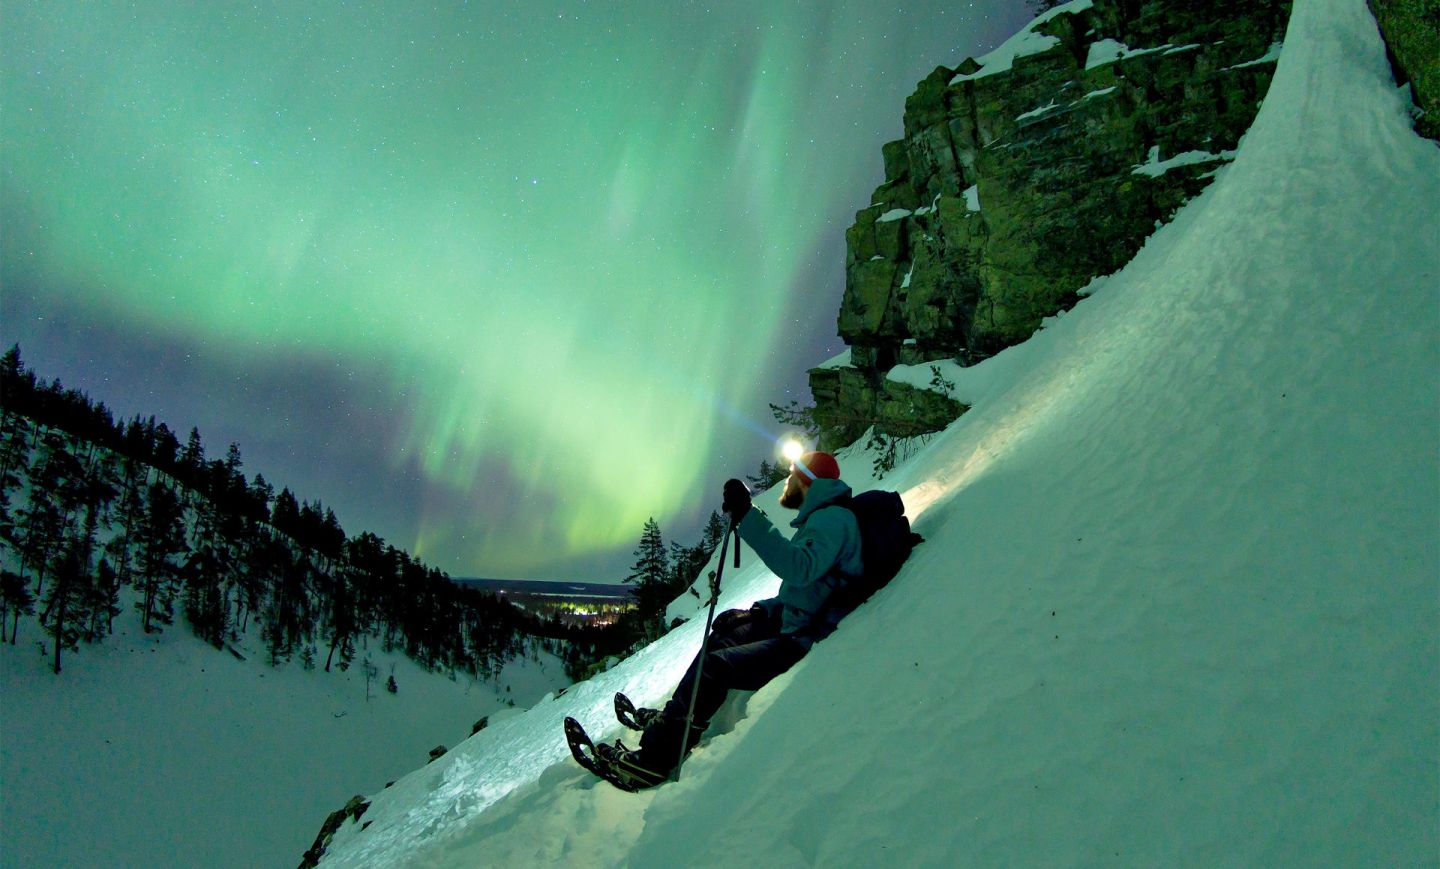
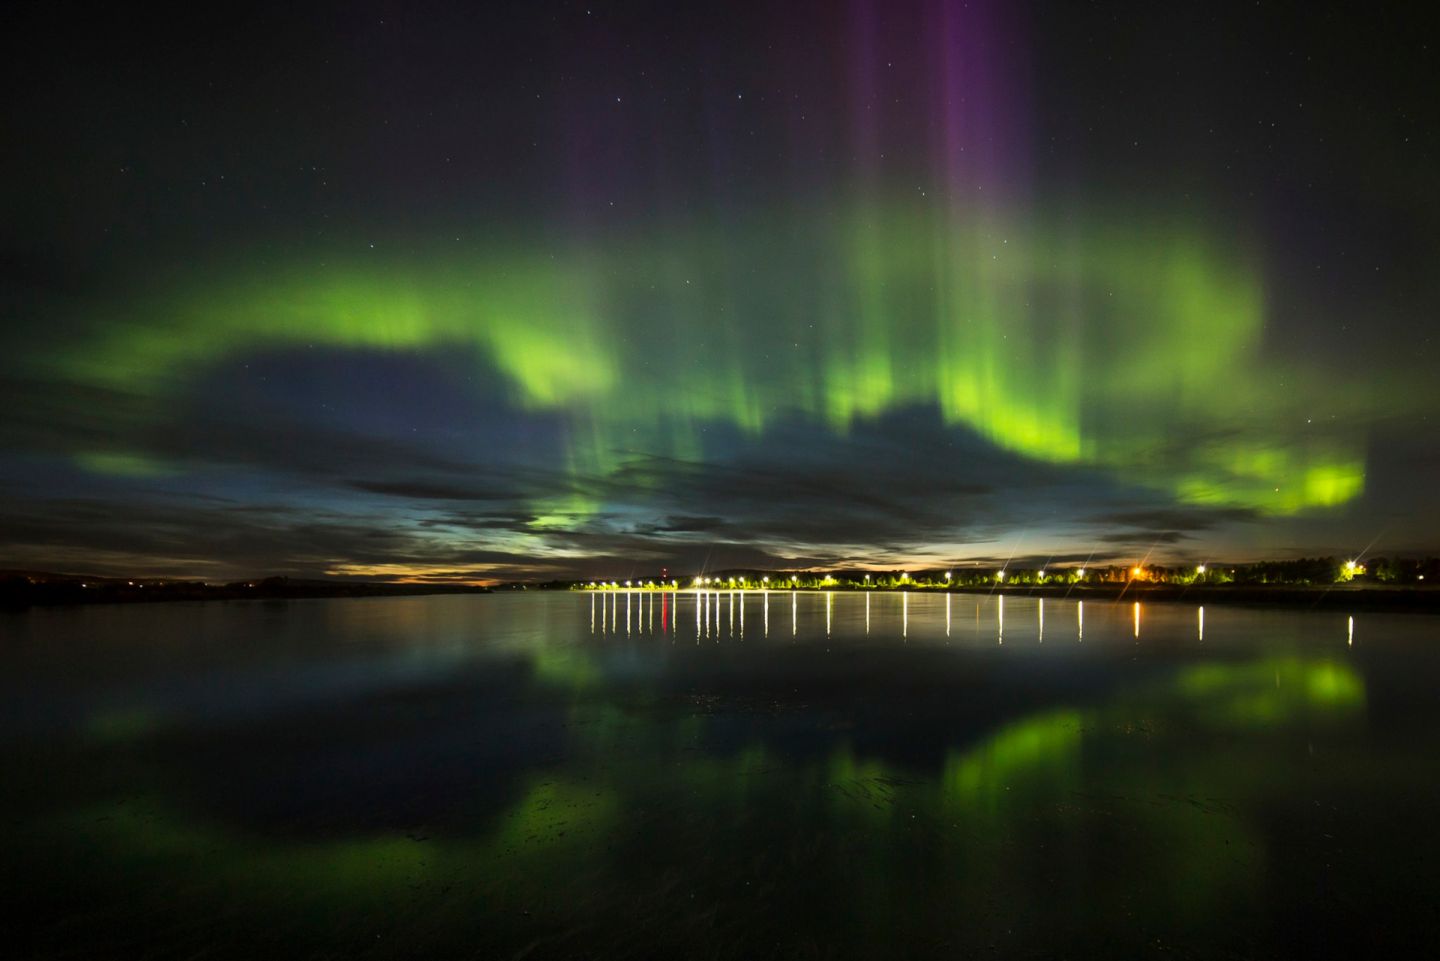
Amazing aurora photography requires the right gear, creative composition and skill post-processing. Check out our extensive guide to capturing the Northern Lights in Lapland.
Shooting a jaw-dropping aurora pic that makes your friends drool with jealousy is no easy task. But we’ve put together some tips on gear, composition and post-processing to ensure that your Northern Lights photos are the best they can possibly be.
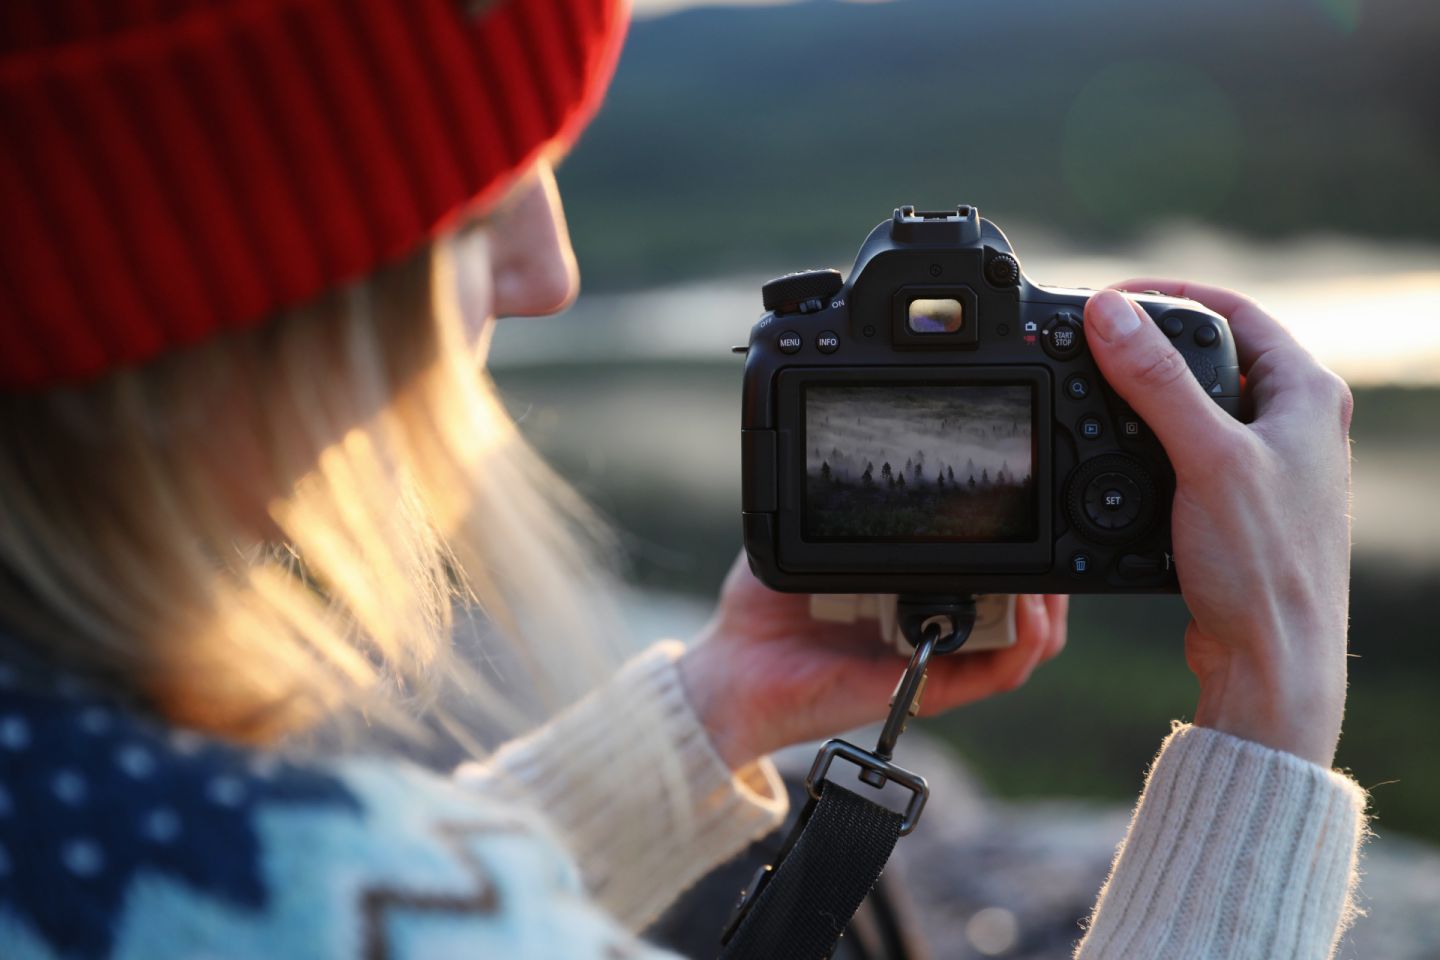
Pick the right gear
You can’t take photos without a camera, and if you want to photograph the Northern Lights in all their glory, you need a proper camera. The best camera will perform well in low-light, have manual controls, and can fit a bright, wide-angle lens.
Here are some popular choices:
- Nikon D5
- Sony A7SII
- Canon 5D Mark IV
A DSLR with a large sensor is the best because it can suck up all that light. Generally speaking, sensors with larger photosites give more accurate information. For example, the Sony A7SII uses a 36x24mm full-frame 12 megapixel sensor. Most smartphones these days offer more than 12 megapixel images, but their sensor area and photosites can be 50 times smaller than the Sony’s. A smartphone collects only a fraction of the light—that’s why most smartphones struggle in low-light situations. And cranking up the sensitivity might give you a bright image, but the quality will be poor.
So you need to spend some dough for Northern Lights photography? Not necessarily. Expensive medium format digital cameras with huge sensors will still struggle in low light, because their sensors are built for different purposes. New camera models with smaller APS or micro 4/3 sensors still perform reasonably well in low light. They’re also much more convenient and affordable.
Still, for the best image quality in low light, it’s full frame or you’re fooling yourself.
Pro-tip: keep extra camera batteries as close to your body as possible. Finnish Lapland can seem like a frozen hellscape during aurora hunting season. (Need to know how to keep yourself sharp and toasty when it’s cold outside? Check out our tips on dressing warm for cold weather.)
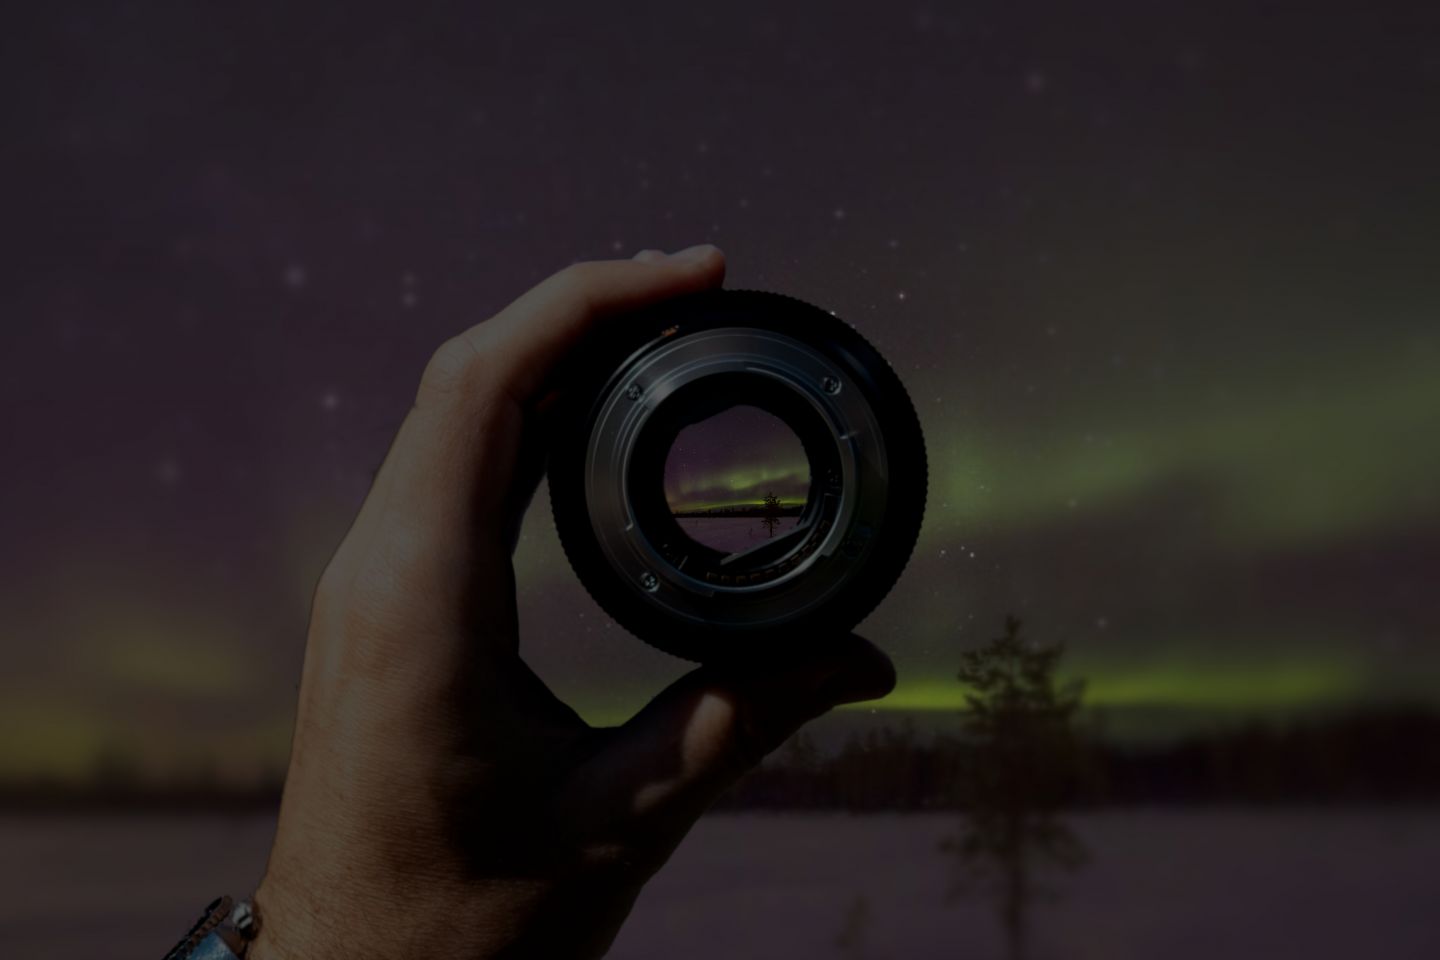
Wide lenses
Before rushing out and buying Sony or Canon’s latest offering, you should consider the lenses available for each system. If you’re already satisfied with the camera you own, you should prioritize fast, quality lenses. Good lenses have a long lifespan, and their value doesn’t greatly diminish—even over decades! (The same can’t be said of digital camera bodies.)
Auroras are often camera hogs, and they’ll fill the entire sky. Assuming full-frame sensors, here are some lens options to consider:
- 24mm focal length with 84 degrees angle of view
- 16mm fisheye with 180 degree angle of view
Choosing the right focal length is a matter of taste and scenario. Fisheyes give strong barrel distortion, while ultra-wides will have strong perspective distortion. Nearby straight objects—such as trees or buildings—will distort, especially as you angle up to the stars. You can compensate for distortion to a degree in post-production.
Naturally, you can shoot the Northern Lights with a longer lens, but you’ll only get a portion of the sky.
Fast glass
In optics, we like to talk about the aperture, or the hole in the camera through which light travels. The bigger the aperture, the more light hits the sensor. Aurora hunters benefit from lenses with large maximum apertures. The drawback, however, is their cost. You can get a 50mm f/1.8 lens for under 200 bucks for just about any camera. But an f/1.8 ultra-wide lens might cost you ten times as much!
Lens apertures are specified by numbers. The smaller the number, the wider the aperture and the “faster” the lens. The numbers are designated as stops, and usually follow a geometric pattern like 1, 1.4, 2, 2.8, 4, 5.6, 8, 16, 22, etc. When you open the aperature a full stop, the area of the hole doubles, meaning you only need half the exposure time. f4 is 4 times “slower” than f2 and 8 times slower than f1.4. In aurora photography that makes a huge difference!
In practice, faster lens allow you to use shorter exposure times and lower ISO. This results in crispier auroras and cleaner images with better color, less noise and sharper details. That’s why serious night photographers drop serious cash for fast, bright lenses.
Accessorize!
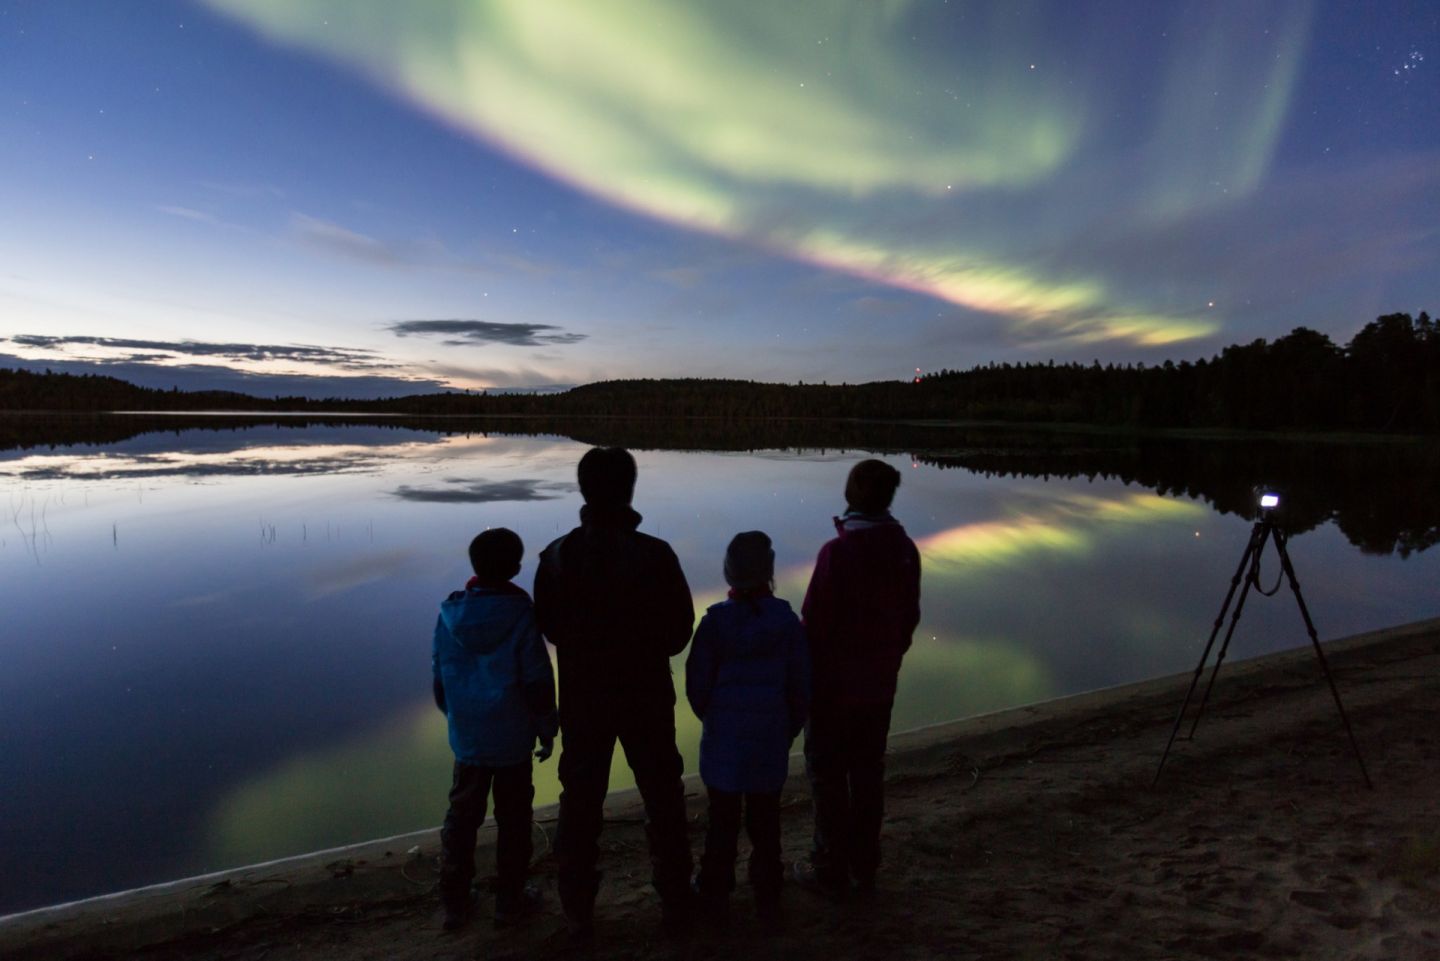
When shooting at night, a tripod is more than recommended—it’s practically obligatory. Make sure your tripod is sturdy and locked in position before snapping that first pic.
If you have a remote, use it! Remotes allow you to start the picture without any accidental motion from you pushing the shutter button on the camera.
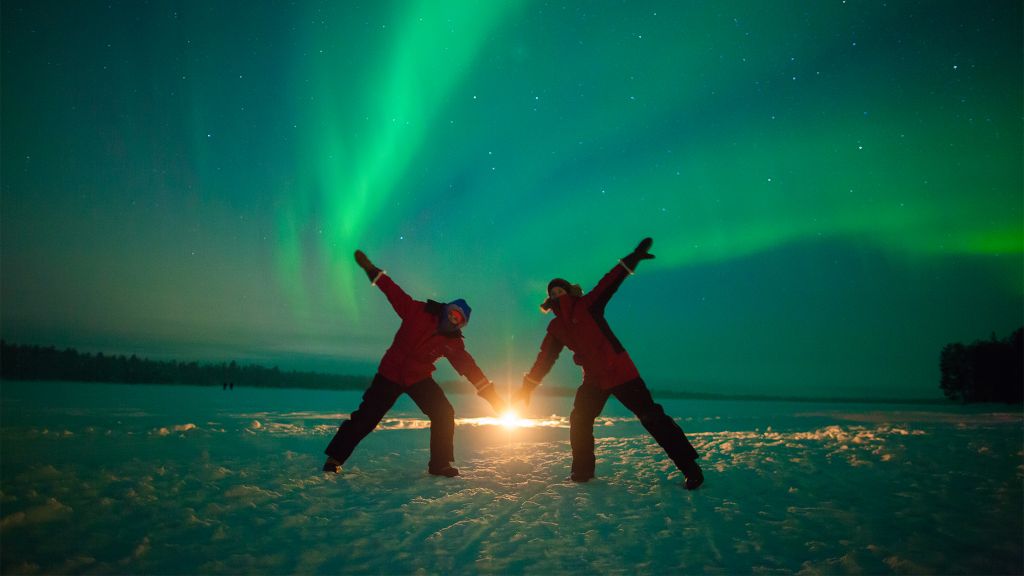
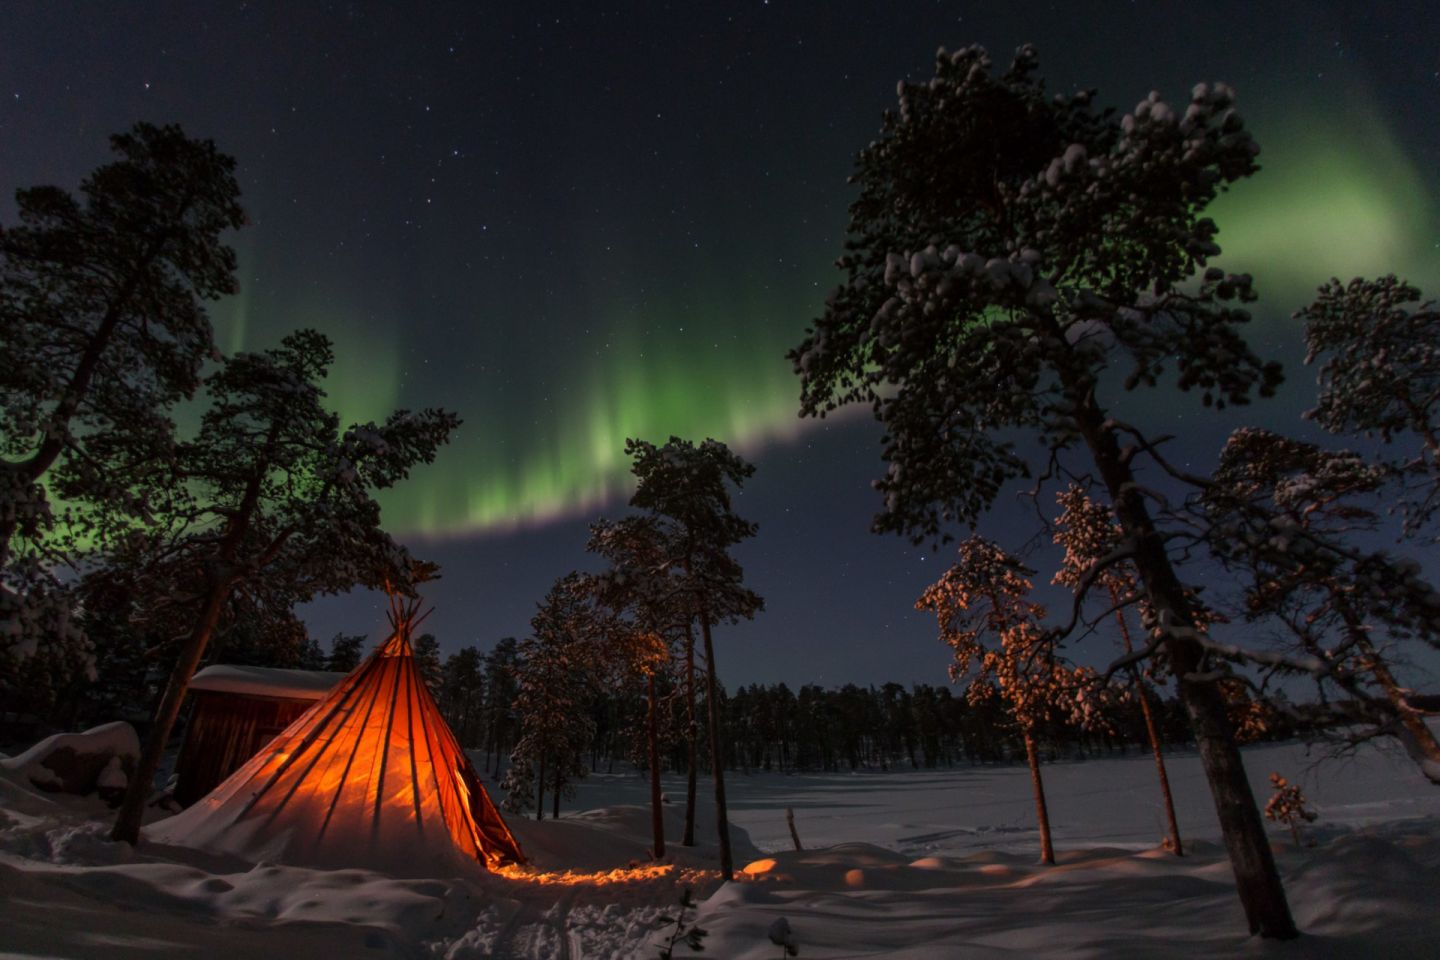
So Lapland in winter is dark. Like really, really dark. So maybe you want to illuminate some feature in the landscape. The lo-fi solution is to use a flashlight or a headlamp to “paint” the subject by hand during exposure. The only problem with this is that it’s hard to apply the same amount of light evenly with the narrow beam of a flashlight. Night photo pros will often use dimmable light panels instead.
You can also use real fire, like with a lantern, candle or bonfire to add a little mood to the photo. People also use burning steel wool and sparklers for light painting. Write your name, or draw something funny, in the air with any light source while the shutter is open. Give it a try—you can do it even if there are no auroras spicing up the sky.
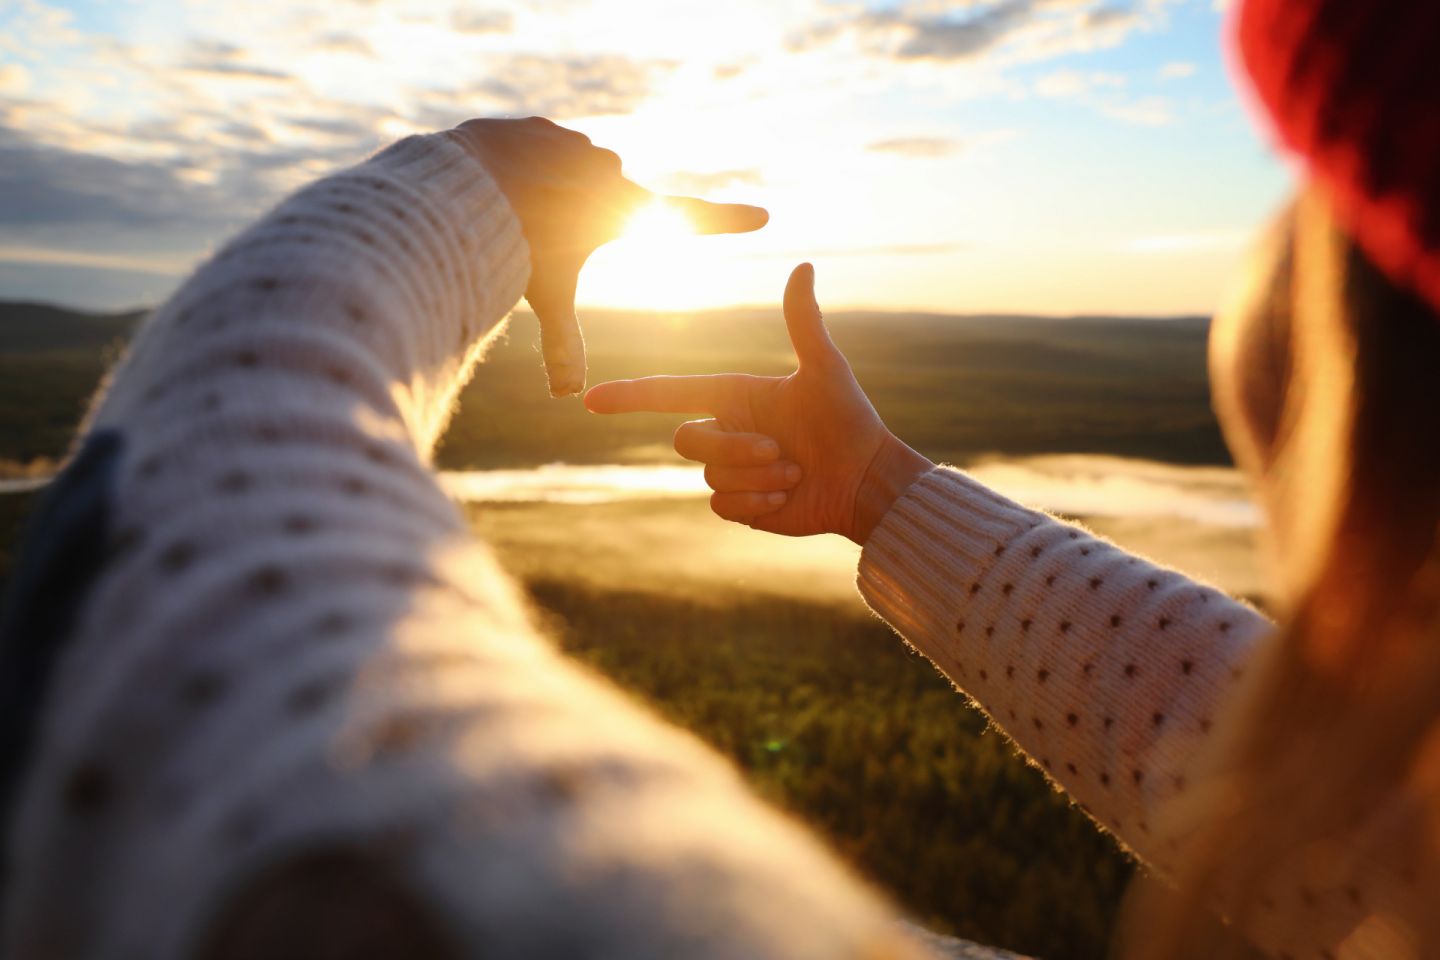
Composition is everything
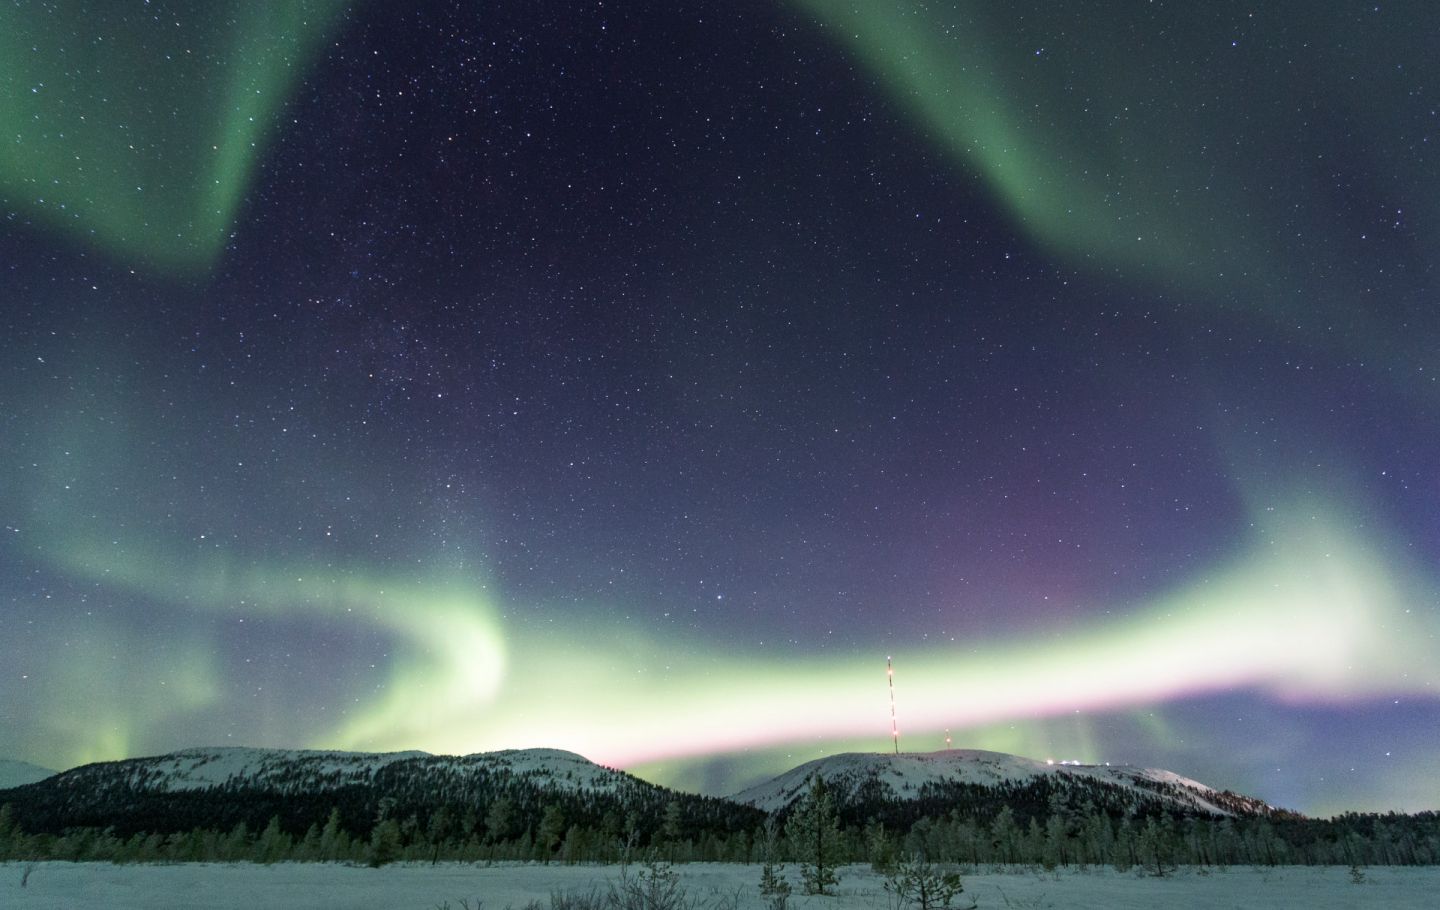
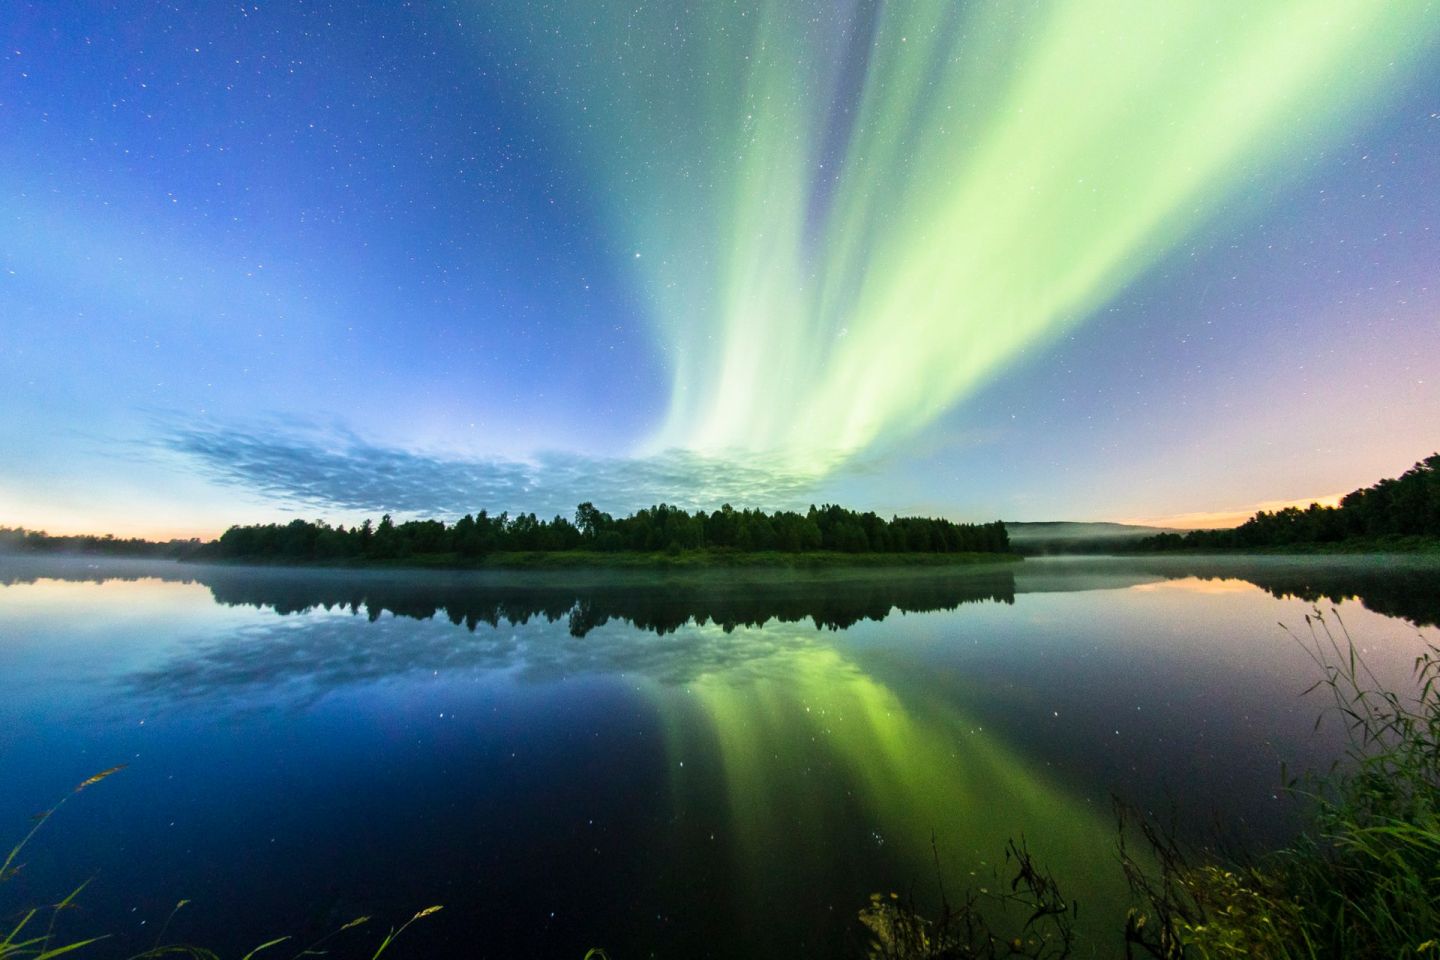
Aurora photography marries landscape photography, star photography and the magic of the Northern Lights. In the simplest terms, you just need to use longer exposure times to see the landscape at night. You should train yourself on basic night photography before you head out into the darkness to capture some magic. Plus, if the auroras are too shy to light up the sky, you can always hone your astrophotography skills. Capturing the Milky Way in Lapland is surprisingly difficult, because the auroras will often photobomb your pics.
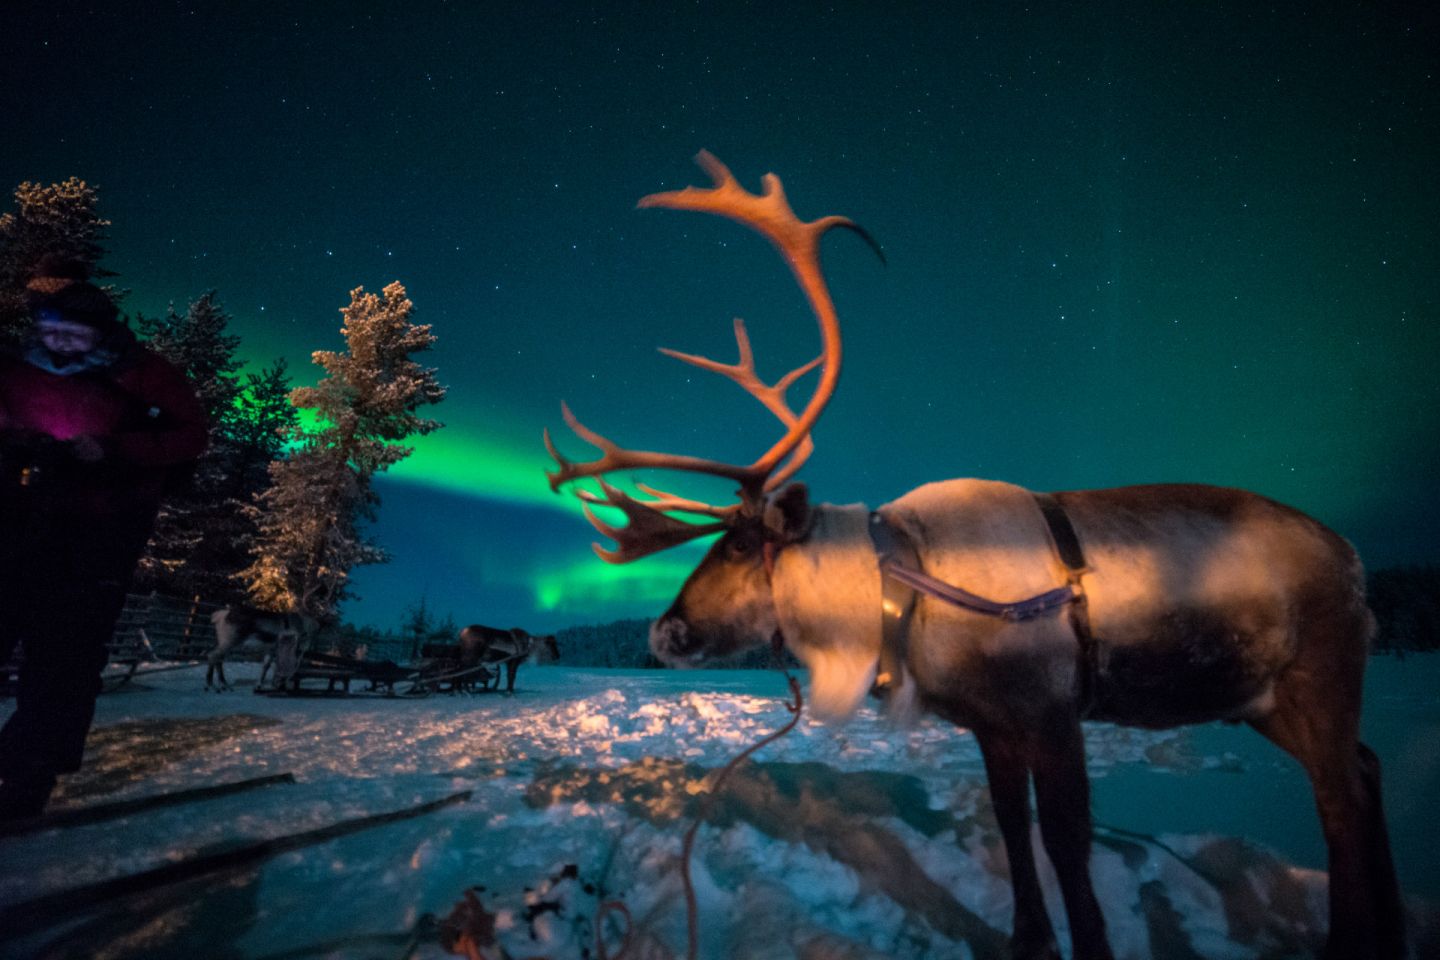
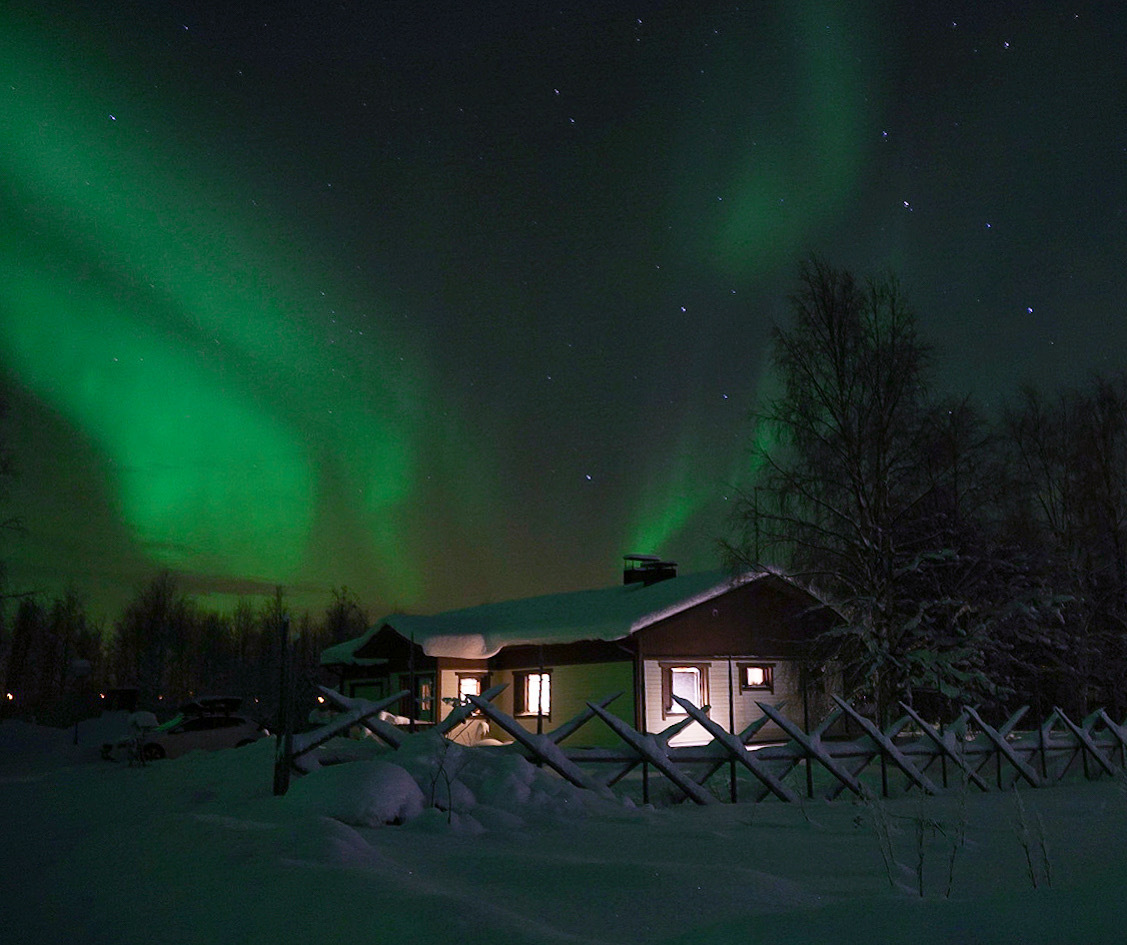
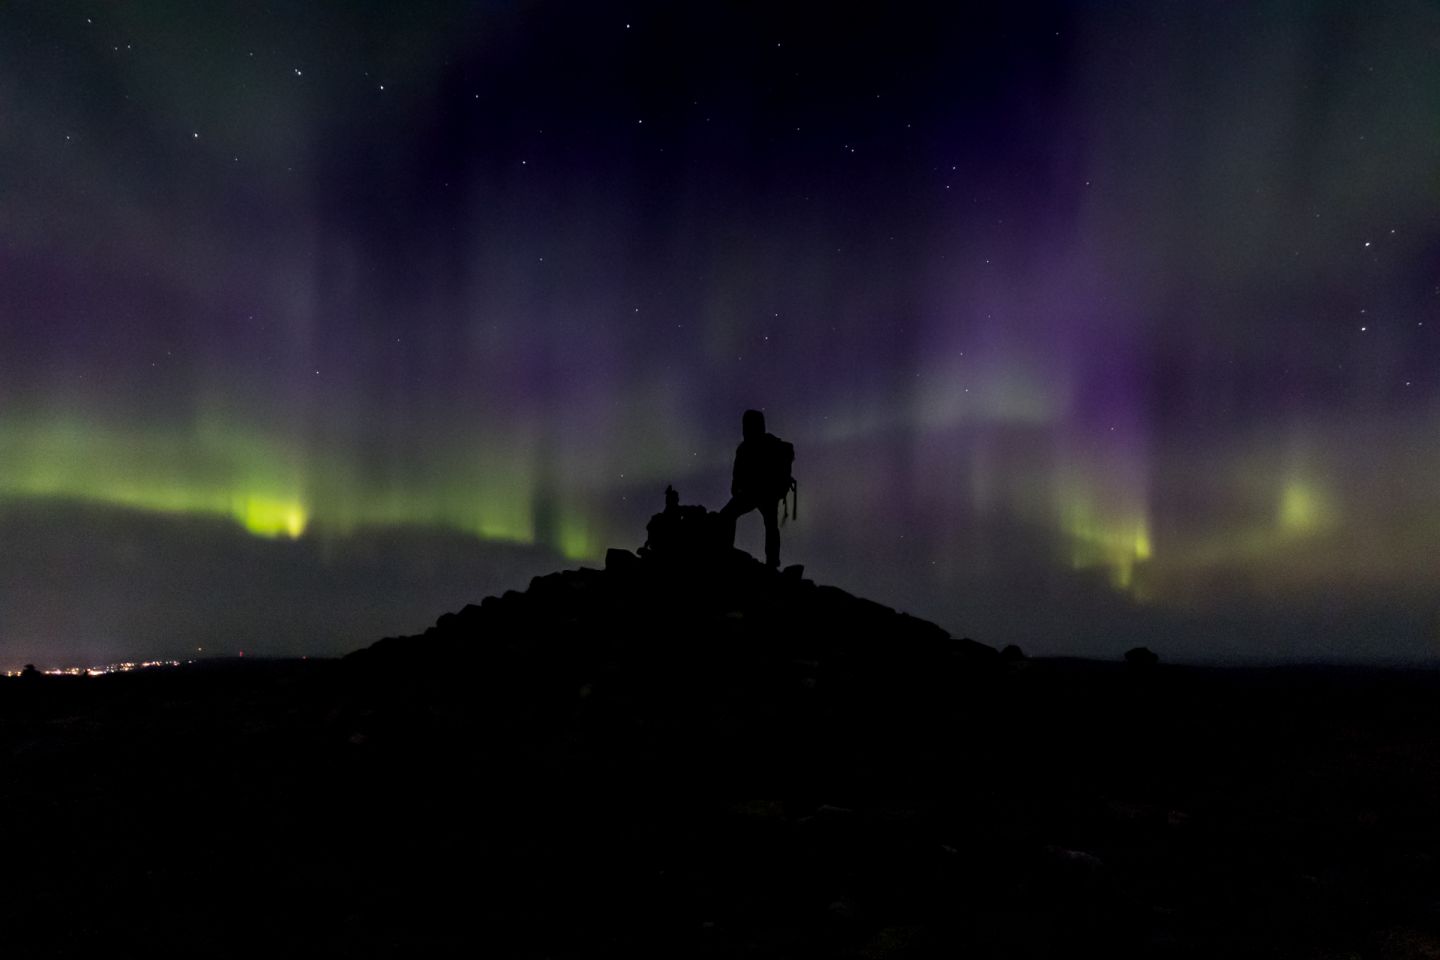
It’s important to remember that a smashing aurora photo is more than just some pretty lights in the sky. You should always look for interesting features in polar landscapes to complete your composition. Try to capture snow giants, gnarled dead tree trunk, ice falls, interesting architecture or even people in your photos. Just remember to tell them to stand still, dammit!

Nail the execution
You can approach auroras the same way you would clouds in daytime landscape photos. Do you want only clouds in your photos or are there other features that complete the composition. Pick a good aurora spot with interesting features to play with, try original ideas and think about the story you want to tell with your image. It’s always better to be all set up at the location before the grand show starts, with different compositions planned out beforehand. Auroras can appear quickly. You don’t want to be running around in a panic looking for gear or a new angle when the lights are already waving above you.
Camera settings for the Northern Lights are like advice for life—it just depends, you know? Every situation and camera setup will be different. You should learn your camera, its strengths and weaknesses, to make the best decision when the time comes. You should shoot in RAW instead of JPG, as raw images contain more info and are much more flexible in post-processing.
When you shoot, your aims should be to
- freeze the motion and details of the auroras
- get a good level of exposure
- don’t clip the highlights in the aurora.
You’ll work with ISO and exposure times to achieve this. Pick a wide, fast lens and maximum aperture. Don’t leave any lens filters on, as they may block the limited light or introduce artifacts. Shoot in full manual mode and adjust all settings by hand.
If this is a bit too daunting, you can use aperture mode and adjust the exposure value manually, while letting the camera decide the shutter speed. This is especially useful if the light is rapidly changing. White balance can be set manually to around 3700 kelvins, which usually works well for night photos.
ISO refers to the light sensitivity of the sensor. Base ISO is usually 100 or 200, (which is way too slow for aurora photography.) When the ISO number doubles, sensitivity doubles. That means you need only half the exposure time to achieve the same level of light. 60 seconds on ISO 200 is equivalent to 15 seconds on ISO 800 or 3.2 seconds on ISO 3200.
ISO 1600 is a good place to start when photographing auroras. With pro-grade low light gear, you can go a lot higher if needed. However, the compromise with high ISO is a drop in image quality. You’ll get more noise and less detail in underexposed areas. Your aim should be to freeze the motion of the aurora while getting a proper level of exposure. If the auroras are flying by, you might need to increase the ISO to 3200 or higher to get a shorter exposure time and less mushy or blurry auroras.
Don’t try to use lower ISO and underexpose, as you’ll need to add exposure in post production. After misfocusing, sever underexposure is probably the most common technical mistake you can make. Adding exposure in post will add more noise than if you had used a higher ISO and proper exposure during the shot. Minor exposure corrections are easily correctly with little to no harm done, when using RAW files. But if you have blown out (completely white) areas, there’s usually nothing you can do in post to save them.
If you have a strong source of light, such as a cabin window or a bonfire, you can combine different exposures in post to avoid blown out areas.
Freeze the auroras!
The last of the three pillars of photography besides aperture and ISO are shutter speed or exposure time. Unless you’re using a crazy high ISO on some pro gear, you’ll need several seconds for proper exposure. For example, if you have a f/2.8 wide angle lens, with ISO 1600, you could start with 10 seconds of exposure. Check the preview and if the image is too dark, increase either ISO or exposure time. If you’re getting overexposed images, lower the exposure time but keep the ISO up.
If your Northern lights photos are blurry, go for a shorter exposure time and higher ISO. With intense auroras and a bright lens, you can use relatively low exposure times (a few seconds or less), but with faint auroras you’ll sometimes need up to 30 seconds or even more. If you go longer, you’ll start to see star trails because of the earth’s rotation. A cool effect, but probably not what you were going for.
Human error
When photographing auroras, you’ll usually set your focus to infinity. Focusing in the dark can be a bit difficult, but you can always illuminate a faraway tree with a flashlight or try focusing on the moon. There’s no need to refocus between frames. Don’t change your focus unless you re-compose the shot. Of course, you can always focus on a foreground subject and let the auroras and the stars go a little soft.
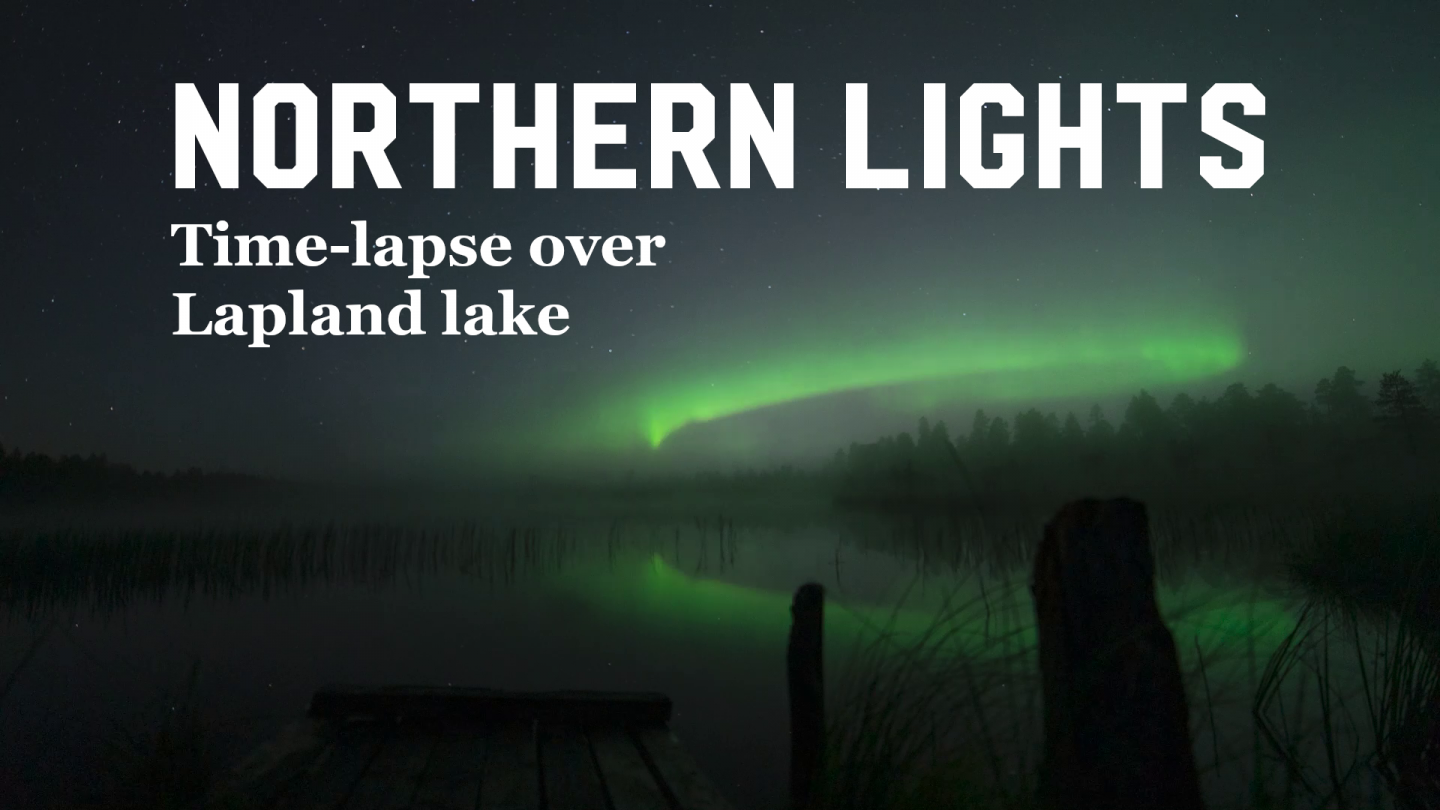
A timer, a remote or interval shooting mode is a lifesaver when shooting auroras. Don’t touch the camera until the exposure is over. If you want aurora photos but don’t want to spend all night behind the camera, use the interval shooting mode and go enjoy the night. Afterwards, you can even create a short time-lapse film.
Post-processing across the Finnish line
Thankfully, modern digital cameras produce very flexible RAW files. And aurora photographs can always benefit from a little fine tuning. Programs like Adobe Lightroom can work wonders. Remember that long exposure photos show the Northern Lights much more vibrantly compared to how they look to the naked eye. (Humans don’t see color so well in low light.)
When you start asking yourself if the photo looks “too edited,” then it probably does. It’s easy to go overboard with Photoshop and filters. But an aurora photo is like spaghetti sauce—you make it to your own taste. Here are a few pointers to help enhance your pics:
- Sharpen your RAW images
- Adjust your contrast
- Correct exposure levels as needed
- Don’t be afraid of masking or gradients
- Use a light hand when adjusting color channels or brushes
Noise, compression & artifacts
With .jpg files, noise is already reduced by software. With RAW, however, you should adjust the noise reduction manually. But too much noise reduction will give your images a plasticky unnatural look. A little fine grain is nothing to sneeze at. As you reduce noise, pay attention to the point where details begin disappearing. You can also try using masks to selectively apply different amounts of noise reduction.
Check and correct for purple fringing around stars. If there are color dots or other unwanted artifacts, remove them with the spot tool. You can add a gentle unsharp mask when you’re done to counter lost microcontrast. Just be careful not to overdo it.
Pro-tip: reduce editing time by saving your basic settings as a preset and applying it to similar photos.
Share the magic!
When you are happy with a picture, why not share it with the world? Tag your photos taken in Lapland with #laplandfinland and tag us @onlyinlapland, so people can easily find your Lapland masterpieces.
You can discover other inspirational images by Lapland-loving users on Instagram, Twitter and Facebook!
TL;DR Aurora photography summary
- Bring a camera with a large sensor, wide lens, large aperture
- RAW images
- White balance between 3000K and 4000K
- Focus on the moon or distant light source
- Shoot with max aperture
- Start with ISO 1600
- Start with 10-15 seconds of exposure time and adjust
- Don’t underexpose.
- Post-process with an eye on noise, editing, subtletly